


Double Glazing Installation Guide
Share this story!
Share this post to any popular social media, email it to a friend or print it off.
Introduction
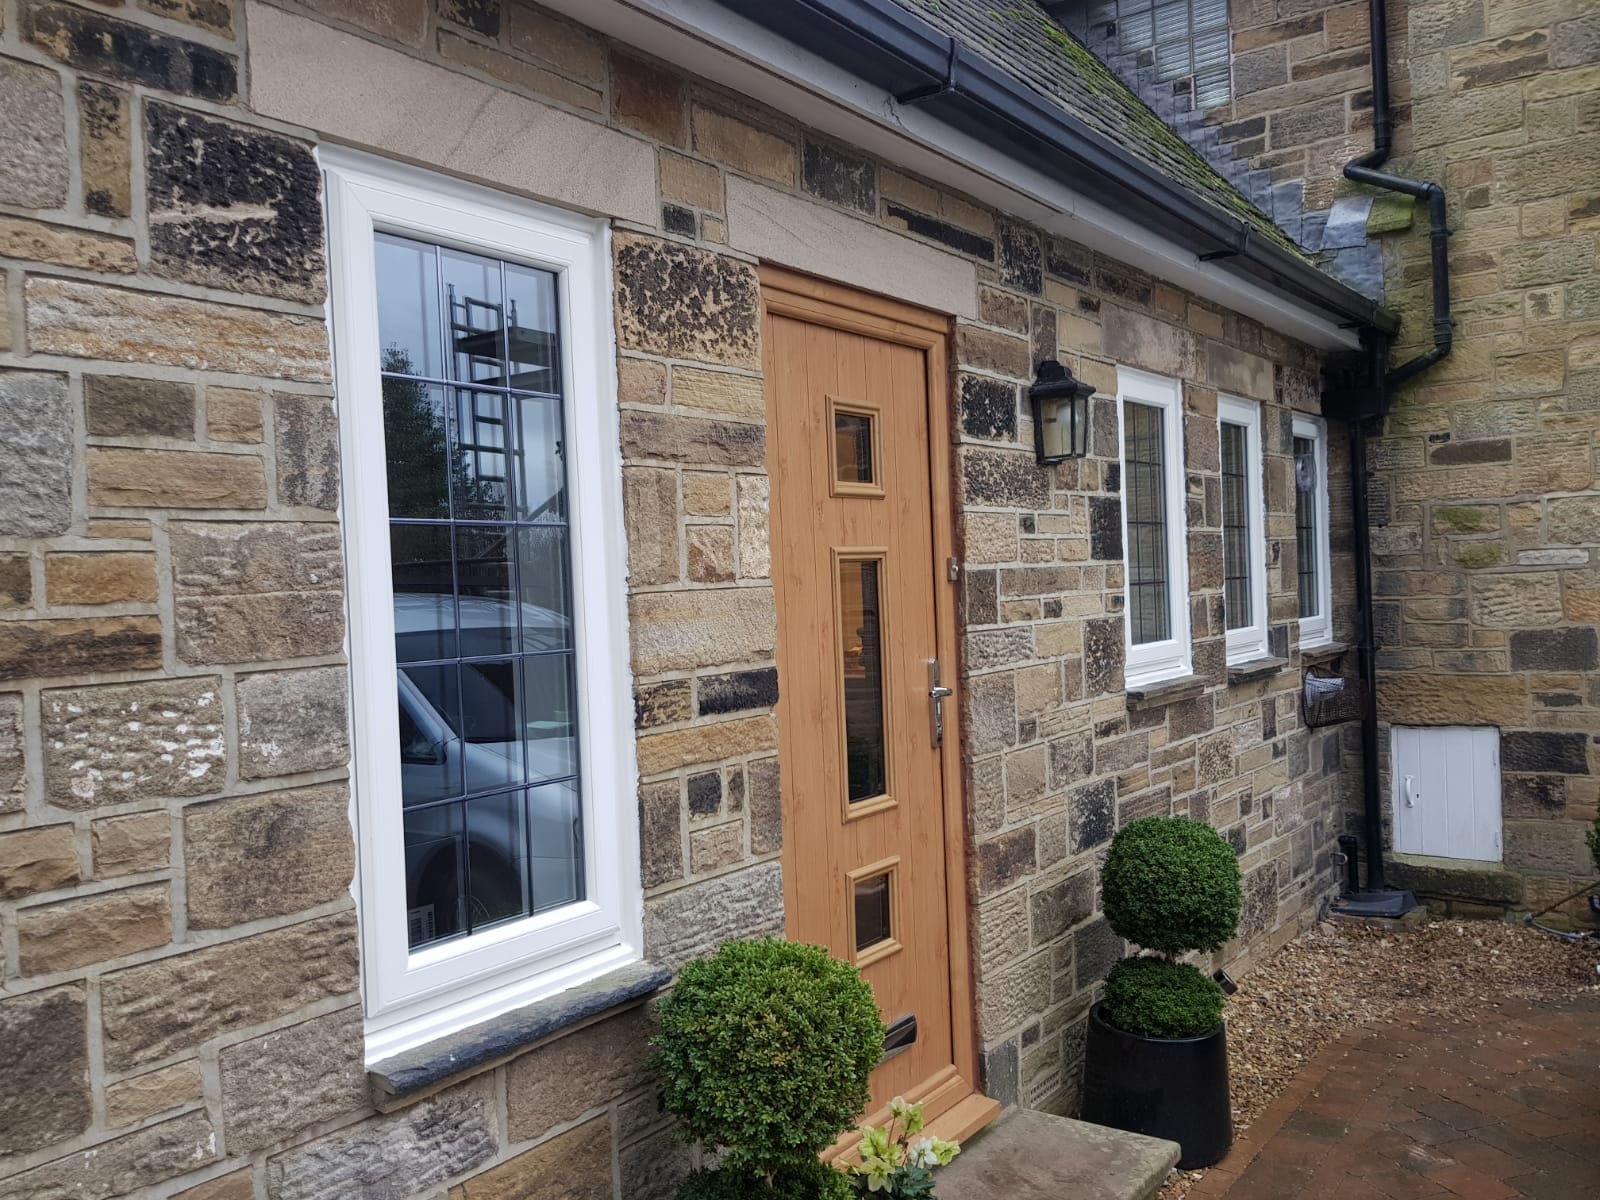
We have curated a handy guide for when you carry out your next double glazing installation. Depending on where you get your products from, each supplier may have different recommendations.
Why not look at our window and door buying guides to find out the different double glazing products that we offer. Double glazing installation can be a complex job, and we want to make sure that you have all the correct information about your double glazing installation.
How Long Will The Installation Take?
It is hard to give a specific time about how long double glazing installation will take. If you install brand-new double glazing into a new build, it will certainly take a lot less time than removing old glazing and putting new ones in.
By speaking to your manufacturer, you can get specific information about your double glazed doors or windows. We always advise that you assess the property before you mention the timeframe of the double glazing installation.

Tools & Equipment
You need to ensure that you have the correct equipment for your double glazing installation. You will require the following tools before you begin the installation:
- Tape Measure
- Level
- Silicone gun with silicone to match the frame finish
- Foam gun
- Fixing screws
- Screwdriver
- Hammer
- Chisel
- Saw (hand or electric)
- PPC equipment, including safety glasses

Step 1 – Survey
As part of any installation, you should survey the property where you are carrying out the double glazing installation. You can look at any things that may affect the installation of any defects you will need to consider.
During the survey, you will need to take measurements to ensure that you have ordered the correct double glazed window or door. You need to take measurements for the opening and also horizontally.
The final measurements that need to be taken are the smallest height and width; these will be your tightest sizes. This gives the double glazing room to contract and expand when it is adapting against the weather conditions when you fit the tolerances.
Step 2 – Frame Positioning
Before fitting the double glazing, you will need to position the frame within the opening. We suggest using temporary packers or wedges to ensure that the double glazing frame is completely secure in the opening.
Step 3 – Fixing Methods
Different fixing methods may apply to each double glazing installation. We recommend that you get in touch with your supplier to check which fixing system may be the best for your next project. The following fixing options are the most popular.
- Through Frame Fixing
- With Fixing Lugs
- With Polyurethane Foam
Step 4 – Fixing Locations
You can now position the mechanical fixings once you have chosen your fixing method for your double glazing installation. There are several things that you have to consider when carrying out the fixing location. The double glazing fixing must be no less than 150mm and no bigger than 250mm.
Once you have chosen your preferred fixing method, you can now position the mechanical fixings.
After you fix the frame, there may be instances that you need to apply a sealant, especially around the cill area. This will provide protection against unwelcome draughts and cold water. Your customer’s double glazing will then provide their property with structural integrity.
Step 5 – Glazing
Please ensure that the frame is secure before inputting your double glazing. Before any installation, you must also check that the double glazing complies with BS 6161, BS 800-Part 7 and Document L of the Building Regulations.
Step 6 – Finishing and Cleaning
It is important to make sure that you clean up after you have completed the double glazing installation. If there is any debris or excess paint, ensure that you clean it up and dispose of it appropriately.
Step 7 – Frame Sealant
At the end of the double glazing installation, you will need to apply a sealant to the windows. This ensures that there is optimal protection against the weather. Make sure you use a recommended sealant that will work well with your double glazing.
Final Inspection and Handover
Before you hand it over to your customers, do one final inspection to ensure that the double glazing is secure and functioning well. Make sure the area is as clean and tidy as when you arrived and make sure your customers have all the correct information.
Learn about the longevity of double glazing.
Final Points
We are on hand to help at any time if you have any questions about double glazing installations. Send us a message through our online contact form, and a member of our team will get back to you as soon as possible.
If you prefer to speak with someone in person, please give us a ring on 03332 412 240 and have a chat with one of our experts. We have years of experience in the manufacturing industry and work with installers up and down the country.

You May Also Be Interested In:
- Comparing uPVC Sash Windows vs Wooden Double Glazed Sash Windows
- Triple Glazing Installation Guide
- The 4 Advantages of Double Glazed Sash Windows: A Wise Investment
- What Are The 6 Benefits of Double and Triple Glazing?
- 1.2 U-Value Available Now For uPVC Sash Windows

Sandra’s comprehensive understanding of sash windows, flush windows, bifold doors and more encompasses everything from initial manufacturing to after-sales support. As a trusted member of the Quickslide team, her authority helps trade partners, homeowners, and industry peers alike.
As one of Quickslide’s most prolific writers, Sandra contributes regularly to the industry with useful insights into the newest innovations in modern sash windows. Her passion for the product shines through in her articles, and her pieces are suitable for technical professionals and homeowners thanks to her digestible, simple breakdowns of complex manufacturing terms.
Each of Sandra’s articles is written using the latest research and industry developments, ensuring that readers receive reliable, up-to-date information as and when they’re published. As a marketing visionary, our clients and their customers can rely on Sandra’s insight for the latest in vertical sliders and other double glazed Quickslide products.
Please note, our news articles are relevant and accurate at the time of release, but as technical developments dictate, and times goes by the information in this article may no longer be applicable. If you have questions, please contact us using our online contact form or call us on 03332 412 240.